
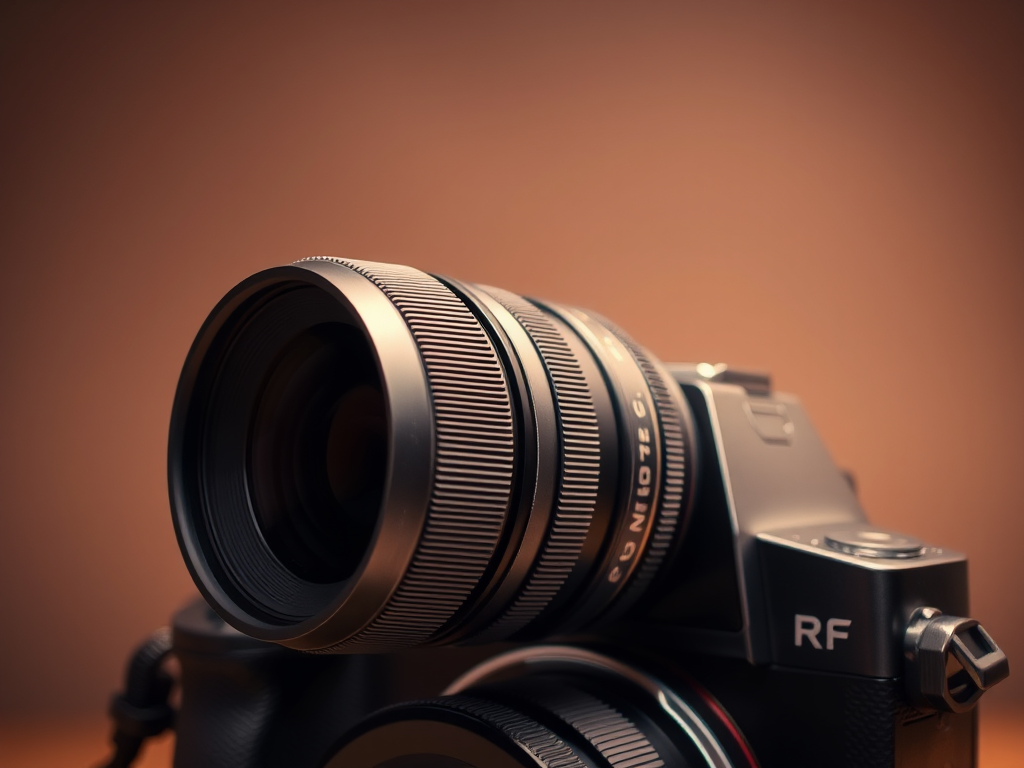
Why Should Canon FD Lenses Be Adapted to RF Cameras?
Beloved for their optical excellence and low cost, Canon’s vintage FD lenses are made for film cameras; nevertheless, they do not naturally fit with current Canon RF mount mirrorless cameras. Fortunately, a 3D printed FD to RF lens adapter lets you bring these vintage lenses back to life for use on the most recent mirrorless systems, without going broke. Design advice, material suggestions, application examples, and frequently asked questions are all covered in this book on FD to RF adapters created using 3D printing.
A 3D-Printed FD to RF Adapter Is
A 3D printed FD to RF lens adapter is a physical bridge letting you attach Canon FD lenses onto RF mount mirrorless camera bodies (e.g., Canon EOS R series). Unlike metal or plastic commercial adapters, a 3D printed version provides a customizable and usually cheaper option for DIY photography enthusiasts. Usually, these converters have:
- Exact flange distance to keep infinite focus
- Tight locking system for lens security
- Design of threaded or friction-fit mounts
Some sophisticated designs let you precisely adjust focus by including focus calibration rings or built-in shims. Other versions could have lens release buttons for fast detachment or bayonet locks for better security.
Main Advantages of 3D Printing Your Own Lens Adapter
- Savings on Costs
A 3D-printed version uses only a few dollars in filament, whereas commercial FD to RF adapters range from $20 to $100. - Personalization
The adapter’s design can be changed to incorporate aesthetic modifications, tripod mounts, or closer tolerances. - Quick Prototyping
3D printing allows for rapid iteration. If your initial design does not fit exactly, you can simply modify and reprint. - Value of Education
For anyone curious about optics, engineering, or 3D modeling, creating your own adaptor is a great way to learn. - Sustainable Action
Using your old FD lenses with a new RF camera not only prolongs the life of your equipment but also helps to lower e-waste, so reflecting environmental awareness.
Printing Advice and Materials
Suggested Filaments:
- PETG: Ideal for stressed components, it provides strength and some flexibility.
- ABS: Though it could warp without enclosure printing, it is pretty durable.
- PLA: Easy to print but not heat-resistant; good for occasional, mild use.
- Nylon: Best for long-term durability, premium choice for wear-resistance and flexibility.
Advice on Printing:
- For durability, use 80–100% infill.
- For accuracy, layer height is 0.1–0.2 mm.
- Supports: Activated, particularly for bayonet regions.
- Post-Processing: Sand contact surfaces for a better fit; optionally treat with resin or epoxy for extra strength.
- Tolerance: Test a size ring or flange calibration tool before printing the full adapter to guarantee an appropriate fit.
Practical Uses
- Restoring Old Lenses
Shoot with your vintage Canon FD glass on current RF mirrorless cameras to get photos with unusual character and classic optical rendering. - Budget Cinematography
Many FD lenses are well-liked in independent film circles. A DIY adaptor helps to include them in Canon’s digital process more easily. - Maker Projects and Education
This is a fantastic hands-on project for engineering students, photography majors, or enthusiasts mixing optics with additive manufacturing. - Backup Equipment and Travel
When traveling, design lightweight adapters as backups; don’t stress about losing or harming costly commercial equipment. - Photographic Experimentation
Ideal for photographers who like lens tinkering, tilt-shift modifications, or reversing lenses for macro photography.
Where to Create or Locate FD to RF Adapter Files
Ready-Made Designs:
- Thingiverse
- Yeggi
- MyMiniFactory
Create Your Own:
Suggested CAD tools:
- Fusion 360: Most suitable for mechanical accuracy.
- TinkerCAD: Excellent for newcomers.
- FreeCAD: Open-source choice with decent support for parametric modeling.
Reddit and Facebook groups also provide community forums where makers post STL files and advice on enhancing print quality or fit.
READ MORE – Best Fursuit Glasses 3D Print Model Ideas for Cosplay & Furry Creators
FAQs:
- Will a 3D-printed adaptor handle hefty lenses?
Yes, but using a tripod collar to support heavy lenses is better. - Will a 3D printed adaptor let me reach infinity focus?
Indeed, provided the flange distance is accurately approximated. Test and modify until it is correct. - Will 3D-printed adapters harm my camera?
They are safe when printed correctly and used sensibly. Make sure clean, flush fits and don’t overtighten. - How long does it take to print an adapter?
Most prints take 2 to 4 hours, depending on settings and printer speed. - May I use these adapters for video work?
Certainly, particularly with static images. However, for professional use, commercial adapters could provide greater long-term durability.
Conclusion:
A 3D printed FD to RF lens converter lets artists and photographers use cherished old lenses in the digital era. Combining traditional optics with contemporary technologies like 3D printing helps you save money and builds a bridge across epochs of imaging technology.
Building your own adapter is a gratifying project that is both practical and enjoyable, whether you are an engineer, a photography lover, or just someone interested in DIY camera equipment. As 3d printing technology and materials develop, the potential for producing dependable and innovative photography accessories grows. With patience, accuracy, and the correct design, your 3D-printed adapter can be a necessary item in your camera equipment.


