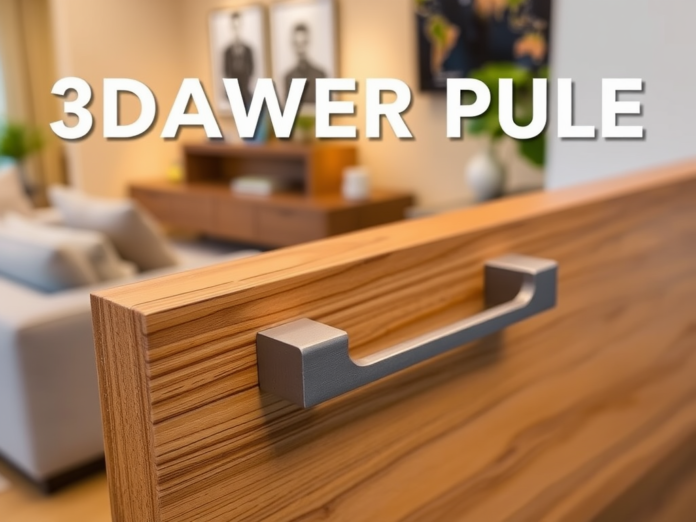
Small details make a big difference when it comes to furniture. Drawer pulls are one of those overlooked elements that can completely change a piece’s look and feel. Thanks to modern technology, you can now create your own 3D printed drawer bar pull, combining style, durability, and customisation all at a fraction of the cost of buying new hardware. This article will show you how to design, print, and install beautiful drawer pulls that enhance your furniture and express your style.

Why 3D Print Drawer Bar Pulls?
Instead of hunting endlessly for the proper store-bought handle, 3D printing lets you:
- Fully customise your pulls to any size, shape, or style.
- Save money compared to buying designer hardware.
- Create matching sets for multiple drawers or cabinets.
- Experiment with unique designs that you can’t find in stores.
- Quickly replace broken or missing pulls without having to buy a complete set.
Plus, 3D printed pulls offer a modern, tech-savvy touch that’s perfect for DIYers and furniture makers.
Best Materials for 3d-Printed Drawer Pulls
Drawer pulls need to be sturdy enough to handle daily use. Your filament choice is essential.
Top filament options:
- PETG: Excellent strength and flexibility; ideal for handles that will get heavy use.
- PLA+: Stronger than standard PLA, easy to print, and suitable for most indoor furniture.
- ABS: High durability and heat resistance, but needs an enclosed printer.
- Nylon: Powerful and flexible, though more challenging to print.
PETG is usually the best balance between easy printing and strong performance for drawer pulls.
Design Tips for Strong, Attractive Drawer Pulls
Good design ensures your bar pulls are both beautiful and functional.
Key considerations:
- Solid structure: Avoid overly thin parts, especially near screw holes.
- Comfortable grip: Ensure the handle is smooth and fits naturally in the hand.
- Proper sizing: Match the pull length and mounting hole spacing to your drawer.
- Reinforced mounting points: Add thicker areas around screws or bolts to avoid cracking.
- Style matching: Design pulls that match your room’s theme — modern, vintage, minimalist, etc.
Simple shapes, such as cylindrical or rectangular bars, often look best and are easiest to print.
Best Printing Settings for Durable Drawer Pulls
Print settings play a huge role in the strength and appearance.
- Layer height: 0.2mm for good strength and surface quality.
- Infill: 50%-70% for sturdy pulls that won’t break easily.
- Walls: 3 or more perimeter walls for additional strength.
- Supports: Needed if your design includes overhangs or complex shapes.
- Bed adhesion: Use a brim for better adhesion, especially with PETG or ABS.
High infill and thicker walls make sure your pulls can handle daily stress.
Mounting and Installation Tips
Proper installation is key for function and durability.
- Use machine screws: They hold better than wood screws in 3D printed plastic.
- Insert metal washers: They help distribute force and prevent the material from cracking.
- Reinforce with epoxy: For very heavy drawers, a dab of epoxy inside the mounting holes adds strength.
- Align carefully: Use a template or guide to ensure straight, professional-looking installations.
Taking a few extra steps during installation will help your custom pulls last for years.
Customisation Ideas for Your Drawer Bar Pulls
Add your personality with these creative touches:
- Two-tone designs: Print in two colours or paint afterwards for contrast.
- Embossed designs: Add patterns, initials, or textures to your pulls.
- Special shapes: Instead of simple bars, create hexagonal, twisted, or lattice designs.
- Matching hardware: Print matching cabinet knobs or shelf brackets to complete the look.
- Themed styles: Create pulls that match a room’s theme — industrial, rustic, futuristic, or minimalist.
A little extra creativity turns functional hardware into standout design elements.
Common Problems and How to Solve Them
Weak Handles
- Problem: Handles snap under pressure.
Solution: Increase infill and perimeter walls. Use stronger materials like PETG.
Warping
- Problem: The pull lift off the print bed during printing.
Solution: Use a heated bed, good bed adhesion techniques, and a brim.
Poor Fit
- Problem: Screw holes misalign with drawer holes.
Solution: Double-check measurements and adjust your model or drilling templates carefully.
A little attention to detail avoids these common frustrations.
READ MORE – 3D Print to Keep Vent Open: A Quick and Easy Way to Boost Airflow
FAQs:
Q1: Is PLA strong enough for drawer pulls?
A1: PLA+ can be strong enough for light-use furniture. For heavy drawers, PETG or ABS is a better choice.
Q2: How do I make sure my printed pulls don’t crack at the screw holes?
A2: Reinforce screw holes with thicker material and consider using metal washers.
Q3: Can I print drawer pulls in multiple pieces?
A3: Yes, especially for longer or more complex designs. Glue or mechanical fasteners can be used to join sections.
Q4: How long does it take to print a drawer pull?
A4: Depending on size and detail, most drawer pulls print in 2–5 hours.
Q5: Can I paint 3D printed drawer pulls?
A5: Absolutely! Use primer and spray paint for a smooth, professional finish.
Conclusion:
With a bit of creativity, planning, and 3D printing know-how, you can easily upgrade your furniture using custom 3D printed drawer bar pulls. They combine the best of form and function, offering strength, style, and complete customisation at a fraction of store-bought prices. Whether you’re refurbishing an old dresser or designing a new piece from scratch, 3D printed drawer pulls are the perfect way to add a personal, professional touch.


