
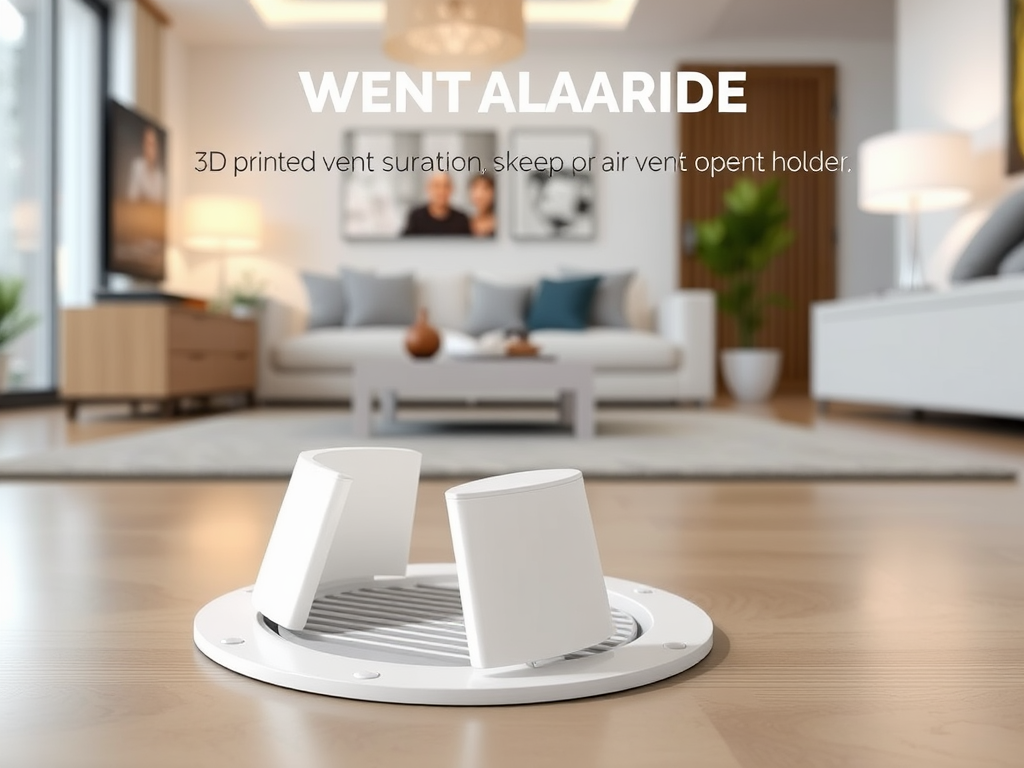
Maintaining proper airflow throughout your home is essential for comfort, energy efficiency, and HVAC performance. Sometimes, air vents close accidentally or shift, which can disrupt the airflow. Fortunately, a simple 3D print to keep the ent open can provide a fast, affordable solution.
In this article, you’ll learn how to design, print, and install a custom support to keep your vents properly open, improving your home’s heating, cooling, and overall air circulation.
Why 3D Print a Vent Support?
When vents stay partially or fully closed, it leads to:
- Uneven room temperatures: Hot or cold spots develop across the house.
- Higher energy bills: HVAC systems work harder when airflow is restricted.
- Reduced system life: Overworked systems wear out faster.
Using a 3D printed vent support helps by:
- Securing the vent at the optimal angle.
- Providing a customised, perfect fit.
- Offering a low-cost, reusable solution.
- Allowing quick replacements or adjustments.
It’s a small project with a significant impact on your home’s efficiency and comfort.
Best Filament Choices for Vent Supports
Selecting the right material ensures that your vent support lasts.
Best options include:
- PETG: Strong and resistant to moderate heat from warm airflow.
- PLA+: Easy to print, durable enough for many indoor vents.
- ABS: High heat resistance, but trickier to print.
- ASA: UV- and heat-resistant, perfect if vents are exposed to sunlight.
PETG strikes the best balance for most home applications.
Design Tips for a Reliable Vent Holder
A good vent support is simple but needs to be stable and safe.
Key design elements:
- Accurate sizing: Measure the vent slats and angles carefully to ensure a proper fit.
- Stable base: A wider bottom ensures the support won’t tip or shift.
- Rounded edges: Prevents damage to vent surfaces.
- Adjustability: Designs with adjustable angles or height offer flexibility.
- Low profile: Keeps the support discreet and minimises obstruction.
Simple designs work best for everyday use.
Best Print Settings for Strong Vent Supports
For a durable and neat 3D print:
- Layer height: 0.2mm for strength with reasonable speed.
- Infill: 40%-50% ensures good load-bearing capacity.
- Wall thickness: At least 2-3 perimeter walls.
- Supports: Rarely needed unless creating complex adjustable designs.
- Print speed: 45–55mm/s for stronger layers.
- Bed adhesion: Use a brim for better stickiness during printing.
These settings produce a strong and lasting vent holder.
How to Install Your 3d-Printed Vent Support
Setting up your vent support takes just minutes:
- Clean the area: Remove dust and debris around the vent.
- Fit the holder: Slide the 3D print into place so it props the vent open.
- Check the alignment: Ensure the vent stays securely open at the desired angle.
- Test airflow: Confirm that air is flowing smoothly through the vent.
Once installed, it will quietly do its job without needing maintenance.
Creative Ideas for Personalising Your Vent Holder
Adding a creative touch makes your vent support functional and stylish:
- Colour matching: Print in colours that match your vent, walls, or flooring.
- Decorative designs: Add simple patterns, logos, or family initials.
- Flexible designs: Use TPU filament for a slightly bendable, soft-fit holder.
- Themed designs: Create holders shaped like arrows, leaves, or even tiny robots.
Customisation makes a basic utility item more fun and personal.
Common Problems and How to Fix Them
Weak Prints
- Problem: Support cracks or bends under pressure.
Solution: Increase infill percentage and use PETG or ABS filament.
Warping
- Problem: Corners lift off during the printing process.
Solution: Use a heated bed and slow down the first layers for better adhesion.
Incorrect Fit
- Problem: The Holder is too tight or loose.
Solution: Measure the vent dimensions carefully and allow for a slight tolerance in the design (around 0.5 mm).
Early adjustments prevent printing frustrations later.
READ MORE – eTrueSports: Your Ultimate Hub for Esports News, Gaming Guides, and Pro Tips
FAQs:
Q1: What material is best for printing a vent holder?
A1: PETG is ideal for strength and moderate heat resistance.
Q2: Can I use PLA for a vent support?
A2: Yes, if the vent doesn’t get too hot. Otherwise, PETG or ABS is safer.
Q3: Do vent holders need a complicated design?
A3: No, even simple wedge or clip designs work perfectly for keeping vents open.
Q4: How long does it take to 3D print a vent support?
A4: Depending on the size, most vent holders print in 2–4 hours.
Q5: Can I adjust the height or angle of my 3D printed vent holder?
A5: Yes, by designing telescoping parts or using multiple slots for height adjustments.
Conclusion:
A 3D print to keep vent open is one of the easiest yet most effective upgrades you can make for better airflow and comfort. With just a few hours of printing and minimal cost, you can create a customised, durable solution that fits perfectly and helps your HVAC system perform at its best. Whether you’re solving a draft problem or just improving efficiency, this simple 3D printing project delivers significant results.


